Risograph Workshop - KSpace Art Lab
February 2023
GOALS:
- Understand best practices, color theory, and techniques for printing with the Risograph printer through the use of the technology.
- Explore the meaning of home through a variety of image making and reflection.
-
Understand and apply the historical and contemporary applications of print media and communication by designing an original poster.

Schedule:
Week 1 - 2/4/23 - 12-3pm
- Introduction
- What is Riso/Examples
- Make
Week 2 - 2/11/23 - 11am-2pm
-
Make
- Assemble
Week 3 - 2/25/23 - 11am-2pm
1. Print @ TAMUCC
2. Install @ Kspace
PROJECT: Reminds Me of Home
Home is where one starts from. - T. S. Eliot
2 layer Risograph poster, edition of 10
11x17in
Step 1: Object Studies
Activities (10-15 mins each)
- Write down why your object reminds you of home
- Draw the outline of your object quickly 5 times, don’t let your pen leave the paper
- Draw your object from 2 different perspectives
- Trace your object
- Write down what home means to you
- Bonus: Take a photo of your object this week and bring in a small print.
- If your object could make a sound, write down the sound it would make. Now draw what the sound will look like.
- Draw a closeup (small section/crop) of your object
- Write down a favorite memory about your object
- Use words to describe your object (ie- sharp, round, etc). Draw other objects that share those same descriptions.
- Draw a scene where your object is doing something it does not usually do
- Draw your object using existing shapes twice. Cut out 1 set of the shapes and rearrange into something new.
- Write what home means to you again (has this changed since last week?)
Helpful Hints:
Feel free to do each activity a few times, if you don’t like what you’ve made, try again – it’s nice to have options. Use dark colors when writing and drawing. Don’t make the drawing too big, you can fit a few on a sheet of paper.
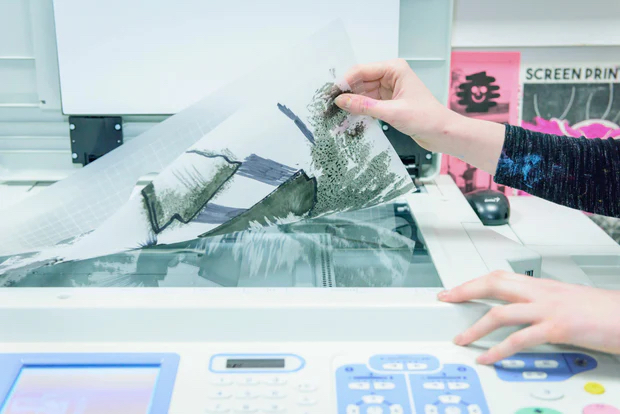
Step 2: Assemble
- Cut out each activity/image, seperate everything you’ve made as much as you would like.
- Place your cutouts on separate transparencies (seperate colors). Consider how they might overlap by holding them up to the light.
- Secure the paper onto your transparency.
- Feel free to make edits, you don’t need to include everything you’ve made, only your favorites.
- Label
Year in the bottom left.
Title of your object in the bottom middle.
Sign your name in the bottom right.